An RV pre-purchase inspection starts with evidence
Separate a buyer’s observations from the checks that need an independent professional.
Specs and limits
Record the exact unit, model year, VIN, installed equipment, and documents reviewed. A buyer’s walkthrough is not a professional condition report. Do not open electrical equipment, test gas integrity, climb an unsupported roof, or perform brake work to complete this checklist.
A seller can show you a clean RV and still leave the most important questions unanswered. What was repaired? Which systems were demonstrated? What could not be accessed? Start an inspection with a record of those questions rather than a determination to find every defect yourself. The goal is a purchase decision supported by evidence and an independent assessment where needed.
This is a guide to organizing observations, not diagnosing hidden damage from a photograph. No real inspected unit or firsthand test is presented here. Authentic inspection photographs remain an editorial asset requirement; conceptual worksheets cannot prove that a seal, frame, appliance, or tire is in good condition.
Identify the unit before assessing it
Copy the identifying information from the unit and compare it with the sale documents. Record the model year, floor plan, VIN, and any separate chassis or component identifiers relevant to service. Ask for the correct owner manuals and the manuals for installed appliances, especially where equipment has been replaced.
Make a list of modifications. A newer battery, added solar equipment, changed hitch, or replacement appliance may be useful, but the installation and compatibility need evidence. Ask who carried out the work and what documentation is available. An explanation such as “the previous owner did it” belongs in the unresolved column, not the verified column.
Use the NHTSA recall lookup as one check. Its search results have stated limitations; a result showing no unrepaired recall is not a complete history or a general condition certificate. Also check applicable manufacturer and component notices. Keep the date of each lookup with the record.
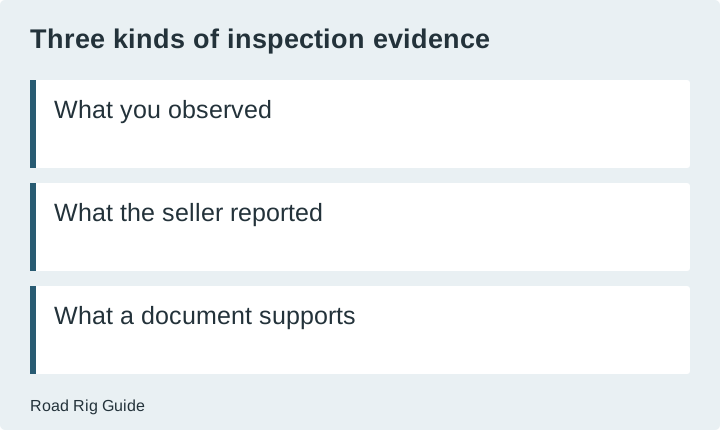
Sort evidence into three columns
The first column is what you directly observed: a stain, a crack, a sticking door, a missing cover, an unreadable label, or a system that was not demonstrated. Describe location and appearance without assigning a cause you cannot establish. “Discolored panel below window” is more useful than declaring a leak repaired or a wall rotten without assessment.
The second column is what someone told you. Attribute it: the seller says a seal was replaced, or a service invoice describes a repair. The third is what supporting evidence exists. A dated invoice, equipment manual, or independent inspection report can resolve a question that a verbal assurance cannot.
This structure also makes follow-up easier. You can ask a technician to investigate one specific observation and explain what it means. You do not need to turn every cosmetic concern into a mechanical diagnosis, and you should not let a confident explanation erase missing records.
Build a walkthrough around accessible areas
| Area | Buyer’s observation | Evidence to request | Escalation point | | --- | --- | --- | --- | | Identity and paperwork | Identifiers match the offered unit | Ownership and service records | Missing or conflicting identifiers | | Interior surfaces | Note stains, damage, odor or softness without diagnosing | Repair history and independent assessment | Suspected concealed damage | | Doors and storage | Observe ordinary operation with permission | Correct operating instructions | Binding, damage or unsafe access | | Appliances | Record what was demonstrated and under which conditions | Model manuals and service records | Unexplained fault or incomplete demonstration | | Tires and running gear | Record labels and visible concerns from safe access | Tire, axle and brake service evidence | Qualified inspection required |
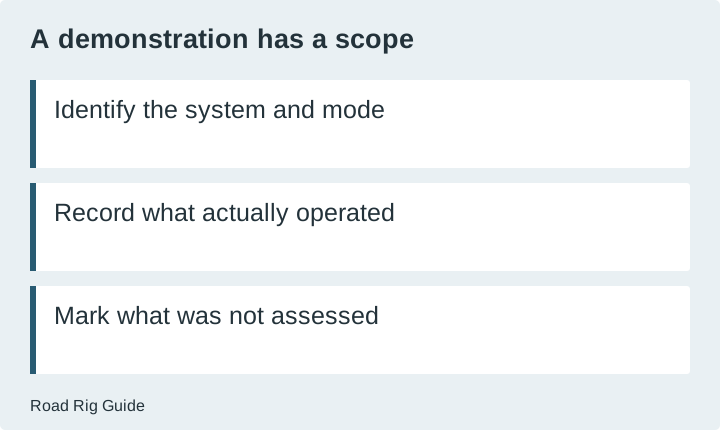
Take your own notes and photographs only with permission. Do not remove panels or disturb equipment just because a checklist mentions it. Mark inaccessible areas plainly. “Not inspected” is an honest result and may be a reason to arrange further assessment before proceeding.
Ask what a demonstration actually proves
A light switching on proves something limited: it operated at that moment under those conditions. It does not prove battery capacity for a weekend. A refrigerator display lighting up does not establish cooling performance. A brief appliance demonstration should be recorded as such, without turning it into a comprehensive functional test.
Ask the seller or qualified inspector to explain the power source and operating mode used during each demonstration. Record whether the unit was connected to external utilities and which systems were unavailable. This is information gathering, not an invitation to bypass a fault or improvise connections.
For propane, mains electrical, and brakes, obtain appropriate professional assessment. Do not use this article as a test procedure. If a condition appears unsafe, stop the demonstration and have the responsible person follow the equipment’s safety instructions. A purchase deadline is not a reason to continue an unsafe inspection.
Compare maintenance records with the right schedule
Airstream’s maintenance schedule illustrates why maintenance has both time and mileage dimensions. Use the schedule for the actual RV and its components rather than copying another manufacturer’s intervals. A low odometer reading does not answer every time-based maintenance question.
Create a service-history table with the task, date, mileage if relevant, provider, and supporting document. Blank entries should stay blank until resolved. Ask what was done during long storage periods and what inspection occurred before the unit returned to use. Keep future quoted work separate from completed work.
If the record is incomplete, ask the independent inspector which uncertainties matter to the purchase decision. A missing cosmetic repair receipt and an unknown history of critical running gear do not have the same significance. The value of the inspection is explaining those distinctions, not merely producing a long list.
Reserve time for an independent report
Choose an inspector whose scope matches the unit and the systems you need assessed. Ask in advance what is included, what is excluded, whether the inspector is independent of the seller, and how findings are documented. Do not assume a general walkthrough includes detailed chassis, gas, electrical, or structural assessment.
Give the inspector your observations without asking them to confirm your preferred conclusion. Request clear descriptions of unresolved issues, consequences, and recommended next steps. If a finding needs another specialist, record that handoff. A report with explicit limitations is more useful than an unsupported declaration that everything is fine.
Turn the findings into a decision
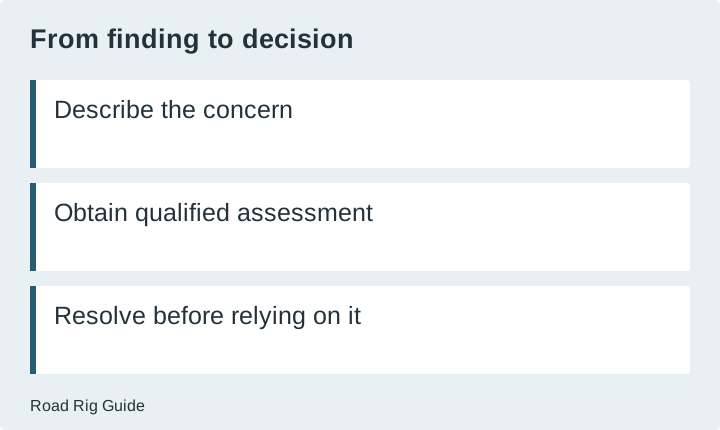
Separate immediate concerns, planned maintenance, usability compromises, and unanswered questions. Obtain actual estimates for proposed work when needed; do not attach invented repair prices to a defect. Keep that work outside the trip-budget calculator, which estimates travel costs rather than repair costs.
Before committing to a towable, also verify the proposed vehicle pairing using actual ratings and loaded-weight planning. The towing worksheet can organize the numbers but cannot substitute for an inspection. A mechanically sound trailer can still be unsuitable for the tow vehicle or your intended use.
The end product should be a traceable decision: which evidence you relied on, what remains unresolved, and which conditions must be satisfied before purchase. If an essential area cannot be inspected or documented, waiting for that evidence is a concrete next step, not a failure to finish the checklist.
Sources
- NHTSA: recalls by vehicle identification number
Accessed 2026-11-20. Check the source for equipment-specific instructions and current policies. - Airstream: regular maintenance schedule
Accessed 2026-11-20. Check the source for equipment-specific instructions and current policies.