A pre-trip walkaround you can repeat
Build a consistent departure check around your vehicle and trailer manuals.
Specs and limits
Use the vehicle, trailer, hitch, and component manufacturers’ departure instructions. This is a structure for a repeatable owner check, not a brake inspection, gas test, electrical repair procedure, or certification that the rig is safe to travel.
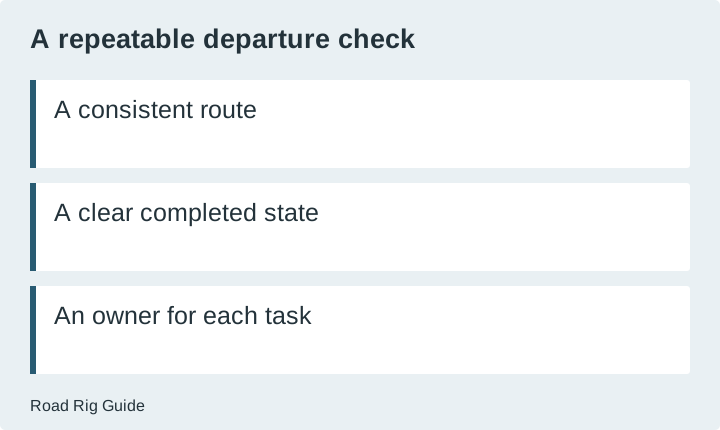
A useful walkaround has a clear route and a clear finished state for each item. “Check the outside” is too vague to repeat reliably, especially when several people are packing at once. Build a short checklist around the actual equipment, and make it obvious which checks are complete and which still need attention.
The walkaround is not the time to discover how an unfamiliar system works. Resolve those questions before departure using the manuals and appropriate instruction. If something cannot be verified, the result is an unresolved departure issue, not a box to tick because the trip is scheduled to begin.
Build the checklist from the rig
List the systems that change between camping and travel. Include exterior openings, stored items, attached equipment, support devices, and the interior items that must be secured. Use the names in the manuals so another person can understand what each line refers to.
Add the checks specified by the vehicle, trailer, and hitch manufacturers. Do not replace those requirements with a generic internet list. An RV with different equipment may need a different departure sequence and different verification steps.
Keep the checklist concise enough to use but specific enough to observe. “Storage door closed and secured as instructed” is clearer than “storage.” The wording should identify a completed state without inventing a procedure that differs from the equipment documentation.
Separate preparation from final verification
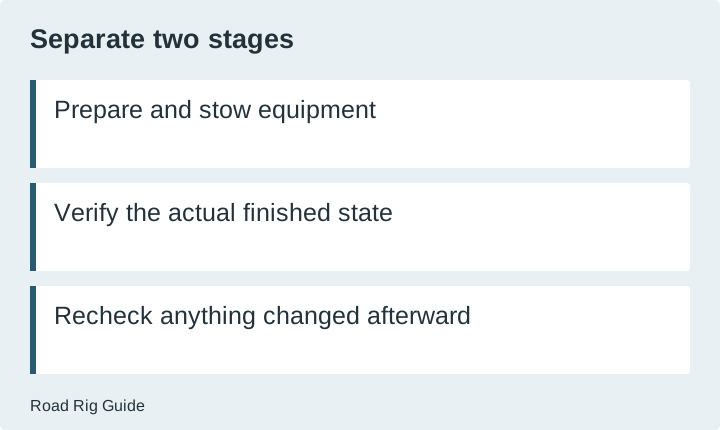
Packing and stowing happen before the final check. The walkaround verifies the resulting condition. If an item is changed afterward, revisit the affected check. Otherwise, a completed checklist can become outdated while still appearing finished.
Assign responsibility explicitly where more than one person is involved. A task can be performed by one person and verified by another when appropriate, but avoid a system in which everyone assumes somebody else handled it. Agree on how unresolved items are communicated.
Do not rush the verification because preparation took longer than expected. Adjust the departure plan when needed. The checklist’s purpose is to surface problems before movement, not to create a ceremonial last step that must be completed at a predetermined time.
Use a route that fits the equipment
Choose a consistent starting point and direction around the rig. Group nearby observations so it is less likely that a compartment or attached item will be missed. Keep people clear of moving vehicles and mechanisms and follow the manuals’ safety instructions throughout.
Include a separate interior pass. Confirm that objects and features have reached their documented travel condition. Do not assume an exterior walkaround establishes that the inside is ready, or that a tidy interior proves every latch or restraint is correctly used.
The order should match the actual preparation sequence. If a later task changes an earlier state, make that dependency explicit. The best checklist follows the rig’s real workflow rather than forcing it into a universal order.
Create a task-and-state table
| Area | What the checklist should identify | If the state is uncertain | | --- | --- | --- | | Interior | Items and features requiring a travel-ready state | Recheck the relevant manual and resolve before movement | | Exterior openings | Exact doors, compartments and movable features | Confirm the physical state safely | | Support equipment | Required stowed or secured condition | Follow the equipment procedure; do not assume movement completed | | Connection system | Manufacturer-required owner checks | Obtain qualified help for unfamiliar or abnormal conditions | | Tires and visible running gear | Required observations and recorded concerns | Escalate damage or uncertainty appropriately | | Lights and required equipment | Correct checks for the actual combination | Resolve a failed check before relying on the equipment | | Final route | Clear area and current travel plan | Stop and reassess if conditions changed |
This is an original checklist framework. It intentionally avoids specifying a hitching sequence, brake procedure, pressure value, or mechanical adjustment. Those details belong to the exact equipment instructions and qualified service where required.
Keep tire checks tied to correct information
NHTSA’s tire-safety guidance explains the importance of pressure, condition, labeling, and loading. Use the correct vehicle and tire information rather than a number remembered from another rig. This article does not choose inflation pressure from a sidewall maximum or a generic trailer category.
Record visible damage or an abnormal condition without trying to diagnose it from appearance alone. If a concern requires professional assessment, arrange that assessment before travel. A tire that appears inflated is not proof that every relevant condition is satisfactory.
Keep maintenance records available so the walkaround is not expected to reconstruct the entire service history. An owner observation is one layer of preparation; it does not replace scheduled inspections or work that requires specialized equipment and competence.
Check notices before they become departure surprises
Use the NHTSA recall resource and the applicable manufacturers’ information to review relevant notices. The lookup has stated limitations and does not establish that every component has been assessed. Keep identifying details and service evidence for the actual unit.
Do not treat a recall lookup as a condition inspection. It answers a different question. Equally, a completed service visit does not mean a later notice cannot apply. Keep these checks in the broader preparation routine rather than trying to complete all research while the rig is waiting to leave.
Where a notice or repair status is unclear, ask the responsible manufacturer or service provider. Record the answer and any required action. Do not assume that an absence of paperwork means the work was completed by a previous owner.
Revisit loading after meaningful changes
Check whether the current travel load matches the condition used in your weight records. New equipment, changed occupants, supplies, and tank states can alter the plan. The towing worksheet organizes measured loads and ratings but cannot see what has been added since the last weighing.
Do not use the walkaround to estimate an invisible weight margin by appearance. If the loading evidence is no longer adequate, obtain the appropriate measurements. A level-looking combination does not establish that axle, tire, or hitch limits are satisfied.
Keep weight records separate from the departure checklist, with a reference to the current configuration. This keeps the checklist usable while preserving the evidence needed for a more detailed assessment.
Handle interruptions deliberately
If a conversation, phone call, or last-minute packing change interrupts the check, identify where to resume or restart the affected section. Do not rely on a vague memory that you were “almost done.” A visible checklist can make that handoff much clearer.
Avoid marking an item complete before observing the required state. If a task must wait, leave it pending and ensure it cannot be mistaken for completion. This is especially important when another person will perform the final verification.
The checklist should support attention, not compete with it. Keep nonessential administration separate from the physical departure check so you are not simultaneously handling bookings, messages, and equipment verification.
End with a clear go-or-resolve decision
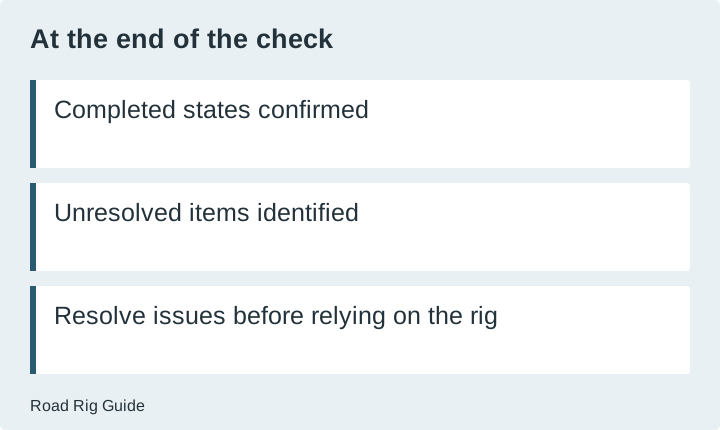
At the end, identify any unresolved item and what must happen next. The result may be ready to proceed under the manuals’ requirements, or it may be a need for further instruction, service, or a changed plan. Do not let the checklist imply a professional safety certification it cannot provide.
After the trip, improve wording that proved ambiguous and remove duplication that made the process harder to follow. Preserve equipment-specific requirements. A repeatable walkaround becomes useful through clarity and consistent use, not through an ever-growing list of generic boxes.
Sources
- NHTSA: tire safety
Accessed 2026-11-20. Check the source for equipment-specific instructions and current policies. - NHTSA: recalls by vehicle identification number
Accessed 2026-11-20. Check the source for equipment-specific instructions and current policies.